
Some of the first basic open chords you would traditionally learn on guitar may be too much of a stretch and require more strength than you have as a total beginner. This includes children and adults. Maybe you have smaller hands, maybe your mobility isn’t great but you’d love to strum some songs.
Today we’re going to break some of these chords down into easier shapes that we will play on just the thinnest 3 strings of the guitar (GBe strings | strings 1, 2 & 3). This will help you get started, build up your strength and put you on the road to playing thousands of songs.
The Chords
7 of the most common chords to learn when playing guitar are Em G C E A Am and D.
Today we willl go from easiest to hardest so you can build yourself up bit by bit.
The Guitar
2 things we need to know about the guitar for today are:
1, STRINGS – it has 6 strings (from the top E(6) A(5) D(4) G(3) B(2) e(1)

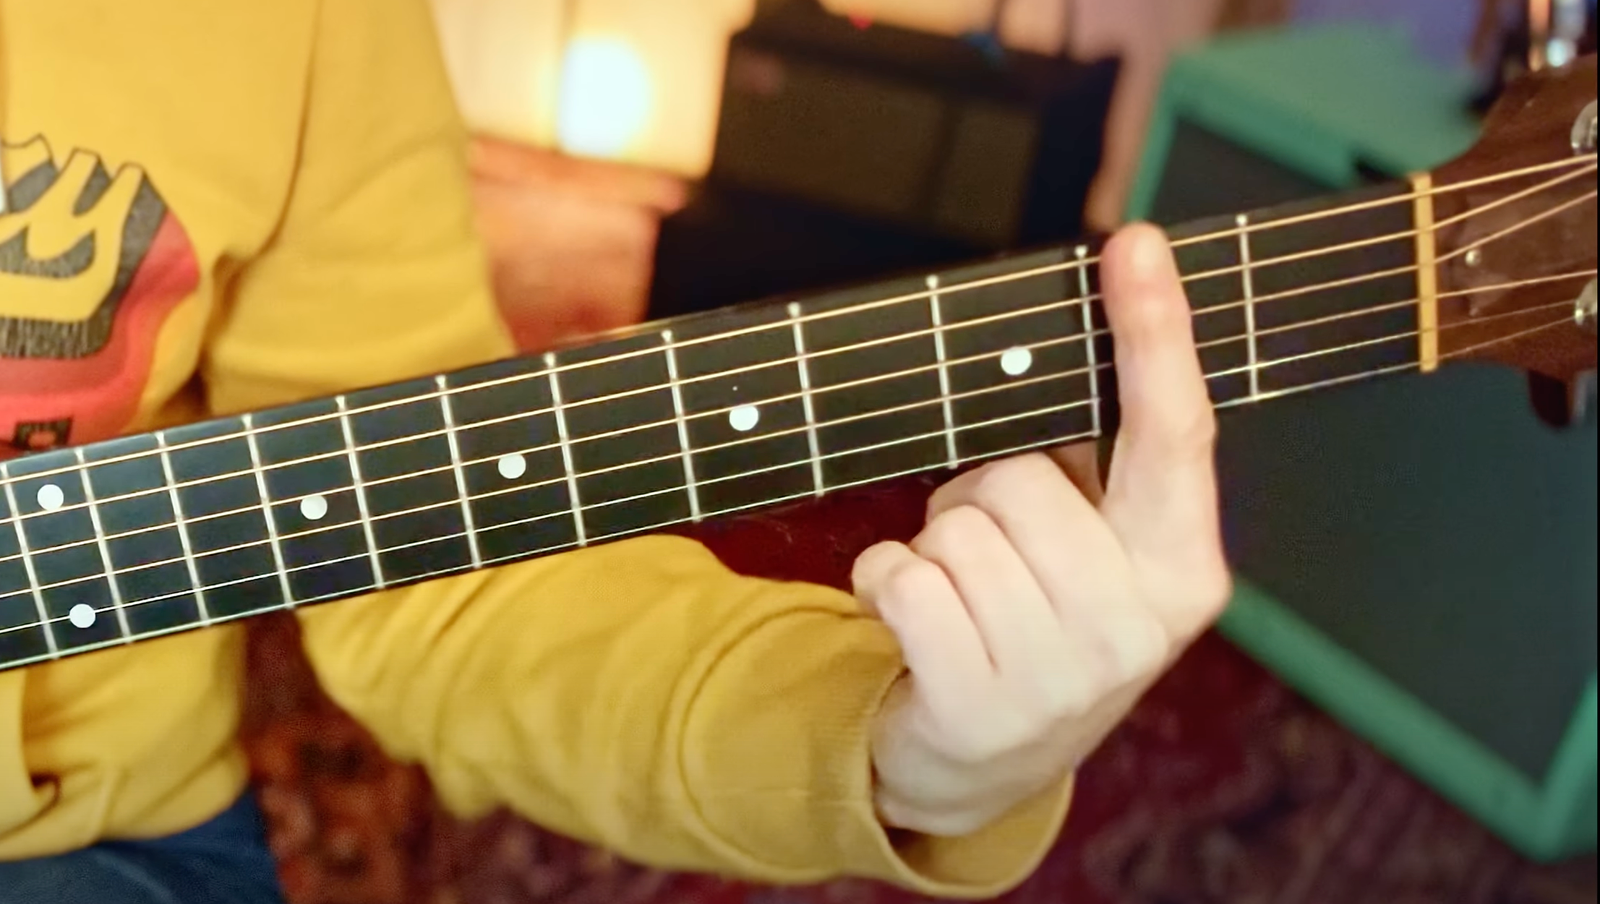
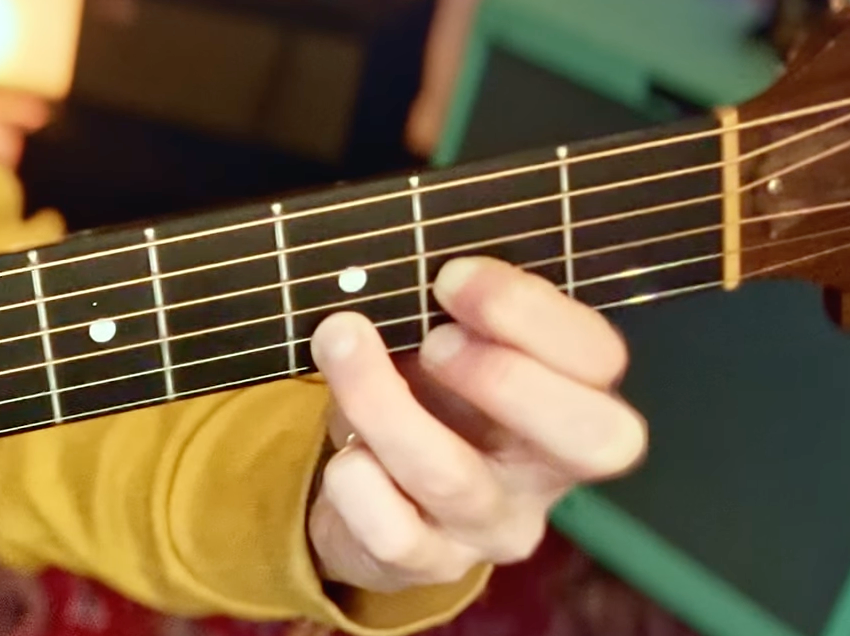
2, FRETS – these are the vertical wire lines that are spaced along the fretboard (see below image)

When we refer to pressing a fret eg fret 2, this means to put your finger in the space between the first fret wire and the second fret wire..(as image)
Now you’re prepped we’re ready to work our way through the chords…..
- Em chord: This one doesn’t require you to put any fingers on the fretboard. The easiest guitar chord of all. We simply strum (play in a downwards motion) the thinnest 3 strings.

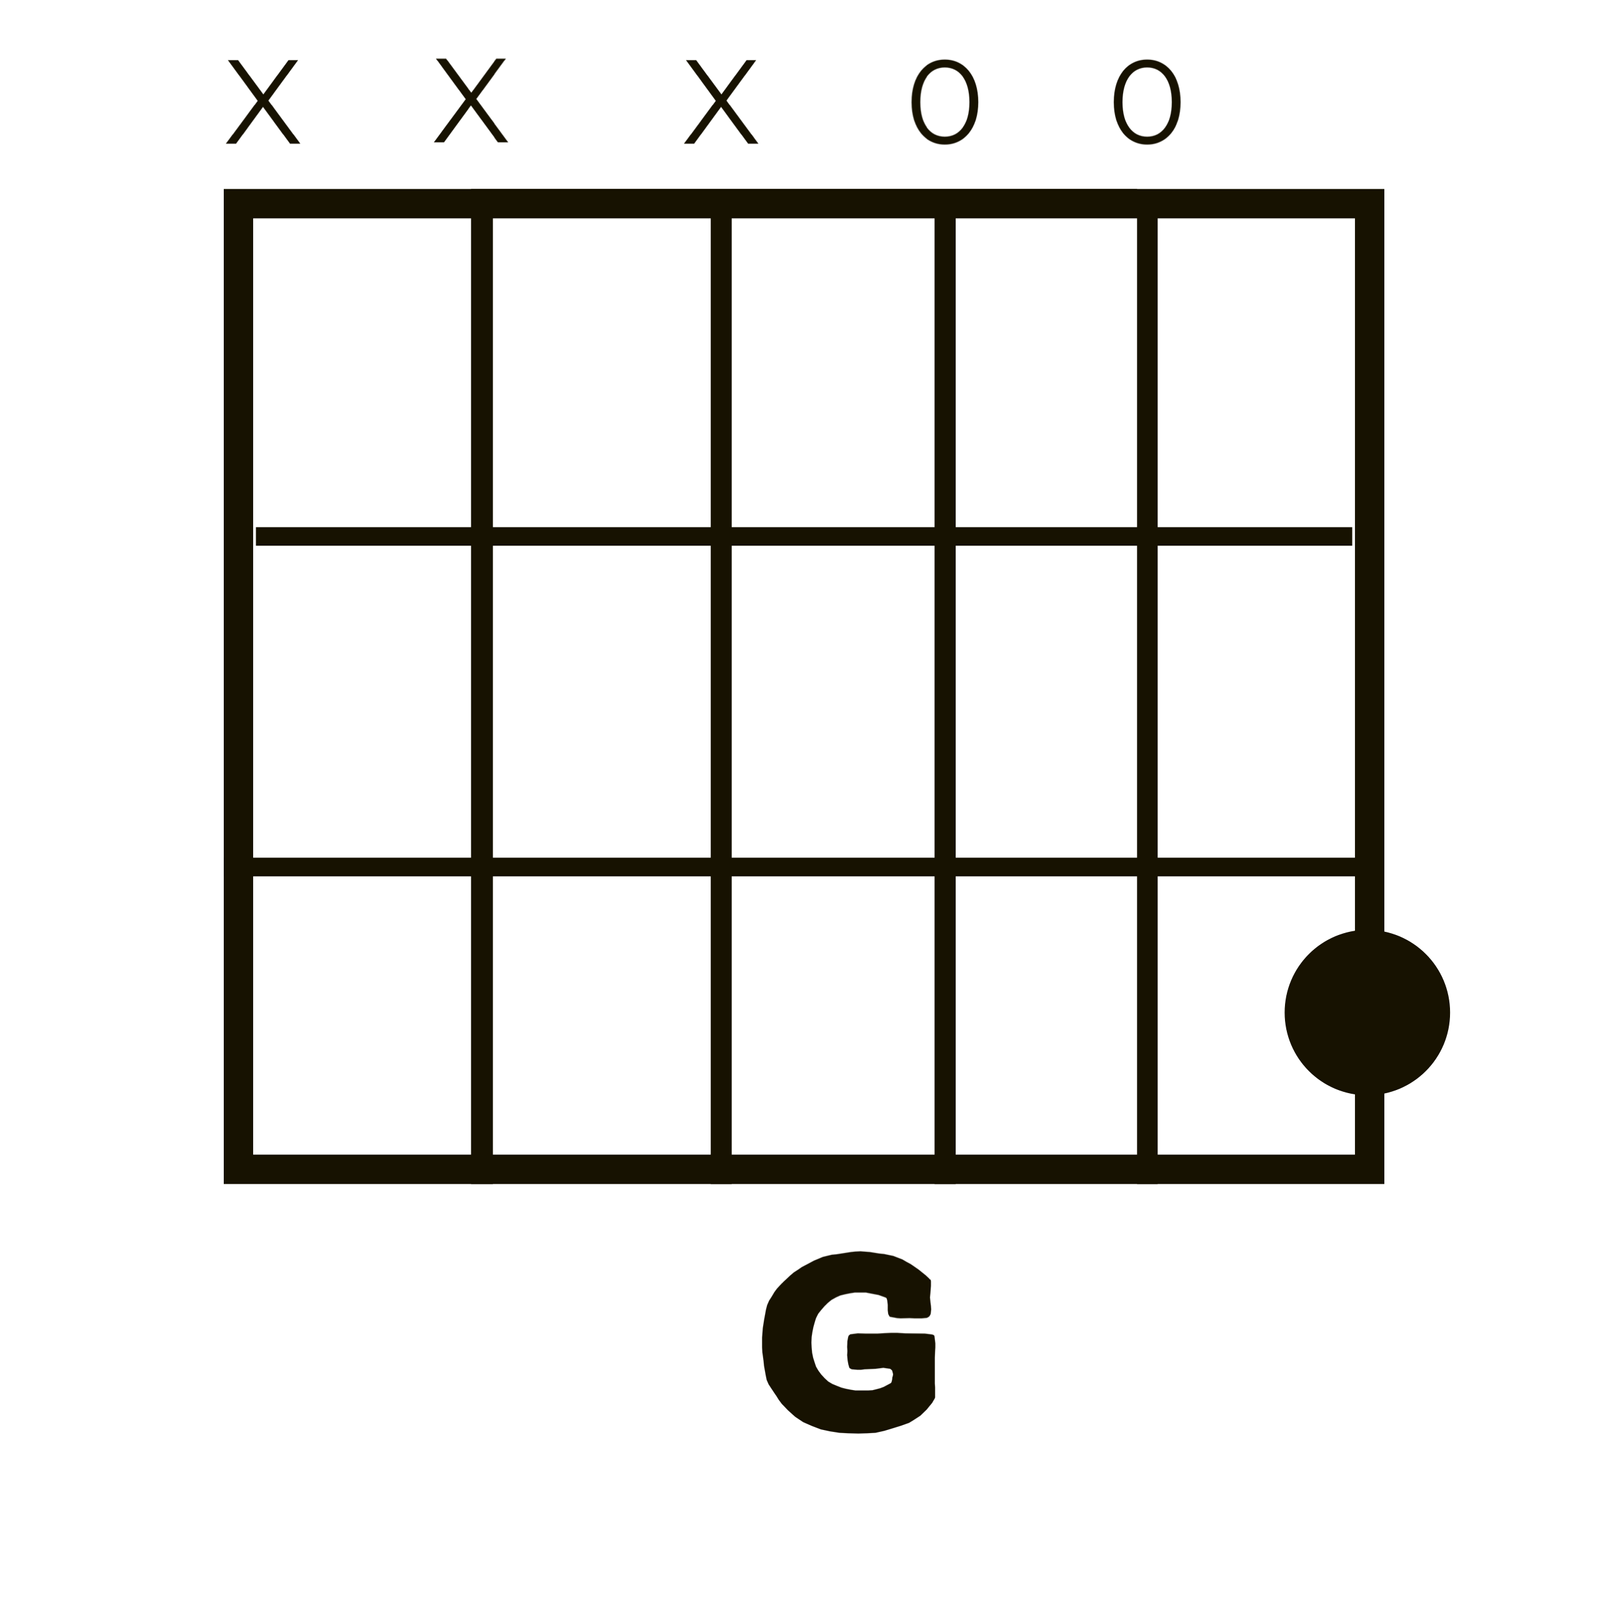
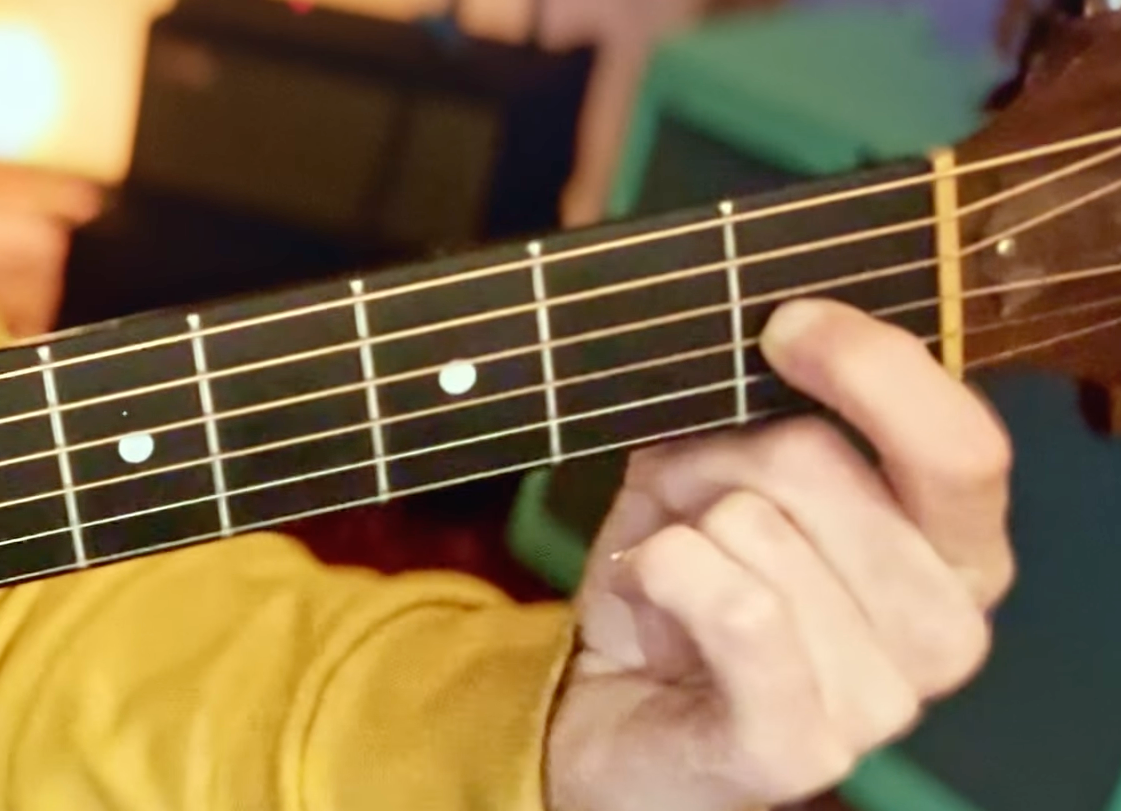
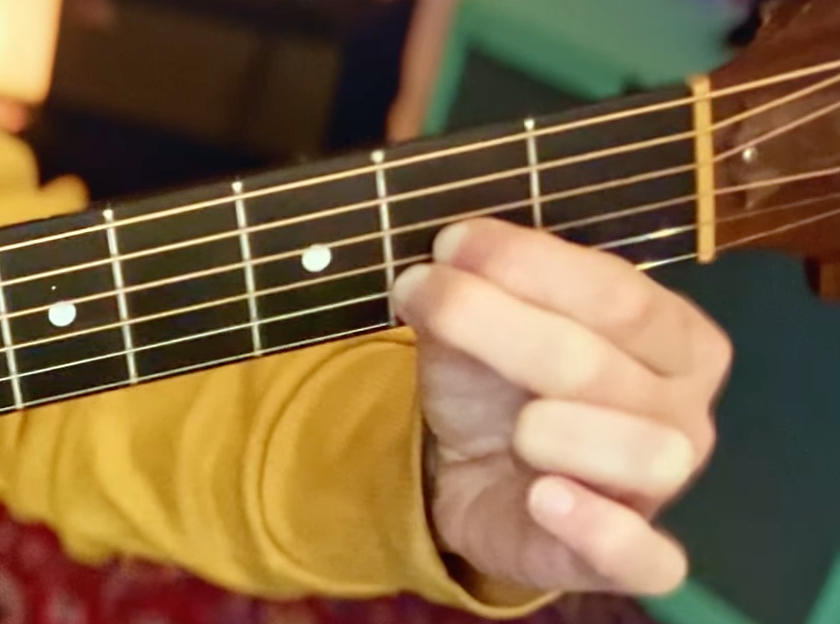
- G chord: Now we need to use one finger on our fretting hand. We take our index finger to the 3rd fret of the thinnest e string (1). Place it right next the fret wire as in the picture below and press it against the fretboard. Keep your thumb on the fretting hand behind the guitar neck and pointing towards the sky. Now strum those 3 strings as we did above to hear it ring out.

- C chord: Take your index finger and move it to the first fret on the B string (2). This is the only finger we need for this chord. Keep the finger nice and rounded as we need to avoid touching the strings on either side of it.


- E chord: Another chord with only one finger. Move your index finger up a string to the G string (3) and press down on fret one. Again keep your finger nice and rounded.

- A chord: Now using 2 fingers on the fretting hand. We slide our index finger to fret number 2 on the G string (3) and add our middle finger right underneath it onto fret 2 of the B string (2). Squeeze the fingers tightly together so they stay within the right frets. Press a little harder for this one as you need to press 2 strings down at once. Now strum.

- A Minor Chord: Now splitting across 2 frets. Put your index finger on the fret one of the B string (2) and your middle finger on fret 2 of the G string (3). Press the 2 strings down at the same time and strum.


- D chord: Our first 3 fingered chord. Place your index finger on fret 2 of the e string (1), middle finger on fret 2 of the e string (1) and ring finger on fret 3 of the B string (2). It’s important to keep the roundness of your fingers here so no other strings are being touched by fingers that they shouldn’t be. Press all 3 fingers against the fretboard. Strum.

Trouble shooting. Practise Tips. Common Mistakes:
- Pick or Thumb – You can use your thumb or your fingers to strum the strings on a guitar when you are playing chords. Each one had a slightly different effect. This is dependent on what style/genre you are playing most of the time. If you are a total beginner I would suggest just going with what feels the most comfortable just to get started.
- End of finger – Make sure when you press your strings down with your ‘fretting’ hand that you use the end of your finger. The angle of your finger will vary depending on how many fingers you are using at the time but pressing with the padded end of your finger will ensure your finger is rounded and not so flat that it rests on other strings by accident.
- Thumb position at back – Keep your thumb at the back of the guitar neck on your fretting hand. Resist the urge to bring it to the front with your fingers. The thumb ideally points toward the sky and sits centrally to what ever shape you are playing at the front. eg. if you’re pressing fret one keep your thumb behind fret one. If you’re pressing frets 2 and 3 hold your thumb between frets 2 and 3 at the back. The thumb should not be too high up as that restricts how much you can arch your fingers at the front. Having said all this, I have seen people play guitar perfectly well doing none of the above points. Also not everybody had the mobility to be able to hold their hands in these positions so, work with what you have whilst keeping the above points in mind.
- Rounded fingers – your fingers need to be arched at the front when pressing strings down. If they are too flat they will rest on strings they shouldn’t be touching and cause problems.
- Guitar position – Ofter people lay their guitar a bit flatter so they can see over the top where to put their fingers. Whilst this is ok for a moment, it will make your wrist stretch more and make it harder to arch your fingers. It makes you work much harder. If you have to lay the guitar to see the positioning of your fingers, do it, but when they are in place return the guitar to its upright position when you are strumming the chord.
- Mutes – If a string does not ring out it may be that you need to press the string down harder. If a string that you are not pressing on sounds muted you need to make sure your other fingers aren’t touching it.
- Buzzing – If a string buzzes when you are pressing it you either need to press down harder or move you finger the the second half of the fret next to the wire. eg If you are pressing fret 2 your finger should be right next to the second fret wire.
Practise Tips and exercises:
- Get used to the chord shapes and names.
- Get used to playing the chords in order one after the other.
- Pick 4 chords eg G Em C Em and practise going through the sequence a few times.
Chords are the essence of songs and a foundation of guitar playing. It takes time to get used to the new language of names and shapes so take some time to learn these.
Now you have 7 chords to play go and seek out some simple songs to strum.
Enjoy!
0 Comments